Lumen is a lightweight microframework from the creators of Laravel. What I mean by lightweight is that it’s a smaller, faster, and leaner version of a full web application framework. Lumen was built off of Laravel and uses many of the same APIs and components.
Lumen was built for developers who need to quickly bootstrap APIs and microservices without the need for all of the bells and whistles that come with Laravel. It can theoretically be used to build any sort of web application, but if your requirements exceed that of an API or a microservice, you’re better off going with Laravel.
In this article, we’re going to be writing an artisan command that deletes items in a database on a weekly basis. To do this, we’re first going to make a mini “blog” API, complete with users and posts.
To follow along, I’m going to assume you’re familiar with intermediate PHP, and you’re comfortable using the command line or a terminal.
Getting Started
Lumen, by design, needs very few external depedencies to get started — Homestead or Valet are great choices for configuring a PHP environment locally. To bootstrap a new Lumen application, ensure you have PHP >= 7.0 and composer installed.
Lumen can be installed using the composer create-project command like so:
$ composer create-project --prefer-dist laravel/lumen blogThis creates a new directory called blog, which contains our Lumen project. To start the development server, you can use the command:
$ php -S localhost:8000 -t publicSetting Up
Now that we have Lumen succesfully configured, we’re going to do a few things. I’ll itemize them below:
- Create Migrations for both Users and Posts.
- Create the User and Post models and define the relationships between them
- Create Seeders for both.
- Create a few routes.
- Finally, create our Artisan command.
And that’s it, let’s get started :fire:
Migrations
First, we need to enable Eloquent and Facades, so navigate to the bootstrap/app.php file and uncomment the following lines.
$app->withFacades();
$app->withEloquent();
These lines enable Lumen to use the Eloquent Orm and Laravel Facades.
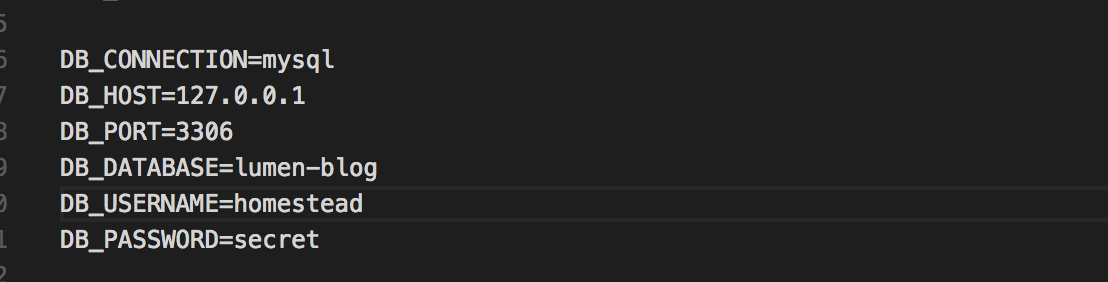
The next step is to configure your database connection. Go to your .env and update the database settings for your particular environment. Here’s mine.
We can now create our migrations (migrations are basically files that define what we want our database tables to look like). We need to initialize the migration system with the command:
$ php artisan migrate:installIf everything works as expected, you’ll see the output Migration table created successfully. This creates a migrations table in our database that is used to keep track of all the available migrations and the current ones used.
For our use case, we need tables for both users and posts. To create the user table, use the command:
$ php artisan make:migration --create=users create_users_tableThis creates a new file in database\migrations\ that defines our migration. It should look like this.
<?php

use Illuminate\Support\Facades\Schema;
use Illuminate\Database\Schema\Blueprint;
use Illuminate\Database\Migrations\Migration;

class CreateUsersTable extends Migration
{
    /**
     * Run the migrations.
     *
     * @return void
     */
    public function up()
    {
        Schema::create('users', function (Blueprint $table) {
            $table->increments('id');
            $table->timestamps();
        });
    }

    /**
     * Reverse the migrations.
     *
     * @return void
     */
    public function down()
    {
        Schema::dropIfExists('users');
    }
}
Add the following tables to our user migrations by editing the up function, like so.
 public function up()
    {
        Schema::create('users', function (Blueprint $table) {
            $table->increments('id');
            $table->string('name');
            $table->string('email');
            $table->string('password');
            $table->timestamps();
        });
    }
Before we create the tables, let’s also create the post’s migration.
$ php artisan make:migration --create=posts create_posts_tableEdit the autogenerated file to look like this:
<?php

use Illuminate\Support\Facades\Schema;
use Illuminate\Database\Schema\Blueprint;
use Illuminate\Database\Migrations\Migration;

class CreatePostsTable extends Migration
{
    /**
     * Run the migrations.
     *
     * @return void
     */
    public function up()
    {
        Schema::create('posts', function (Blueprint $table) {
            $table->increments('id');
            $table->string('title');
            $table->string('content');
            $table->integer('user_id')->unsigned();
            $table->timestamps();
        });

        Schema::table(
            'posts', function ($table) {
                $table
                    ->foreign('user_id')
                    ->references('id')
                    ->on('users')
                    ->onDelete('cascade');
            }
        );
    }

    /**
     * Reverse the migrations.
     *
     * @return void
     */
    public function down()
    {
        Schema::dropIfExists('posts');
    }
}
The only new thing here is the unsigned keyword that helps to define the foreign key relationship between users and posts (one-to-many).
We can now create our tables using the command $ php artisan migrate
NB: If you make any changes to your models or migrations file and you need to migrate again, make sure you run the command $composer dumpautoload first.
Models
A model is a class used to abstract our business logic and represent it as an object. In our case, we have two models: Users and Posts. Let’s make some models.
Create the app/User.php file and add the following code:
<?php

namespace App;

use Illuminate\Auth\Authenticatable;
use Laravel\Lumen\Auth\Authorizable;
use Illuminate\Database\Eloquent\Model;
use Illuminate\Contracts\Auth\Authenticatable as AuthenticatableContract;
use Illuminate\Contracts\Auth\Access\Authorizable as AuthorizableContract;

class User extends Model implements JWTSubject, AuthenticatableContract, AuthorizableContract
{
    use Authenticatable, Authorizable;

    /**
     * The attributes that are mass assignable.
     *
     * @var array
     */
    protected $fillable = [
        'name', 'email', 'password'
    ];

    /**
     * The attributes excluded from the model's JSON form.
     *
     * @var array
     */
    protected $hidden = [
        'password',
    ];

    /**
     * A user can have many posts
     *
     * @return \Illuminate\Database\Eloquent\Relations\HasMany
     */
    public function posts()
    {
        return $this->hasMany('App\Post');
    }

}
Create a post’s model by creating a app/Post.php file and add the following code;
<?php

namespace App;


use Illuminate\Database\Eloquent\Model;

class Post extends Model
{
    /**
     * The attributes that are mass assignable.
     *
     * @var array
     */
    protected $fillable = [
        'title', 'content', 'user_id'
    ];

   /**
     * A post belongs to a user
     *
     * @return \Illuminate\Database\Eloquent\Relations\BelongsTo
   */
    public function user()
    {
        return $this->belongsTo('App\User');
    }
}
Creating Seeders
Seeders help us to prepopulate our database with seed data for us to play around with. This is useful for when we eventually create our Artisan command. Seed files are stored in thedatabase/seeds folders and we can create a new seeder file there. We will call it UsersTableSeeder.php:
<?php

use Illuminate\Database\Seeder;
use Illuminate\Support\Facades\DB;

class UsersTableSeeder extends Seeder
{
    public function run()
    {
        DB::table('users')->insert(
            [
                'name' => 'Seyi',
                'email' => 'seyii@seyi.com',
                'password' => 'somerandompassword'
            ]
        );
        DB::table('posts')->insert([
            [
                'title' => 'My First Post',
                'content' => 'lorem ipsum dolor sit ammet',
                'user_id' => 1
            ], [
                'title' => 'My second Post',
                'content' => 'lorem ipsum dolor sit ammet',
                'user_id' => 1
            ], [
                'title' => 'My third Post',
                'content' => 'lorem ipsum dolor sit ammet',
                'user_id' => 1
            ]
        ]);
    }

}
This creates a user in our database who has three posts.
Before we can seed our database, go to the DatabaseSeeder.php file and uncomment out
$this->call('UsersTableSeeder');We can now populate our database with the command $ php artisan db:seed
Routes
We’re almost at the point where we can write our command, but before we do that, let’s write a few routes to ensure that all that we’ve done works as expected.
Go to the routes/web.php file and add this route:
$router->post('/newuser', 'UserController@createNewUser');Create a new controller in the app\http\controllers file called UserController.php and add the following code:
<?php
namespace App\Http\Controllers;
use App\User;
use Illuminate\Http\Request;
class UserController extends Controller
{
/**
* Create a new controller instance.
*
* @return void
*/
public function __construct()
{
//
}
public function createNewUser(Request $request)
{
$response =
$this->validate(
$request, [
'name' => 'required',
'email' => 'required|email|unique:users',
'password' => 'required'
]
);
$user = new User();
$user->name = $request->name;
$user->email = $request->email;
$user->password = $request->password;
$user->save();
if($user->save())
{
$response = response()->json(
[
'response' => [
'created' => true,
'userId' => $user->id
]
], 201
);
}
return $response;
}
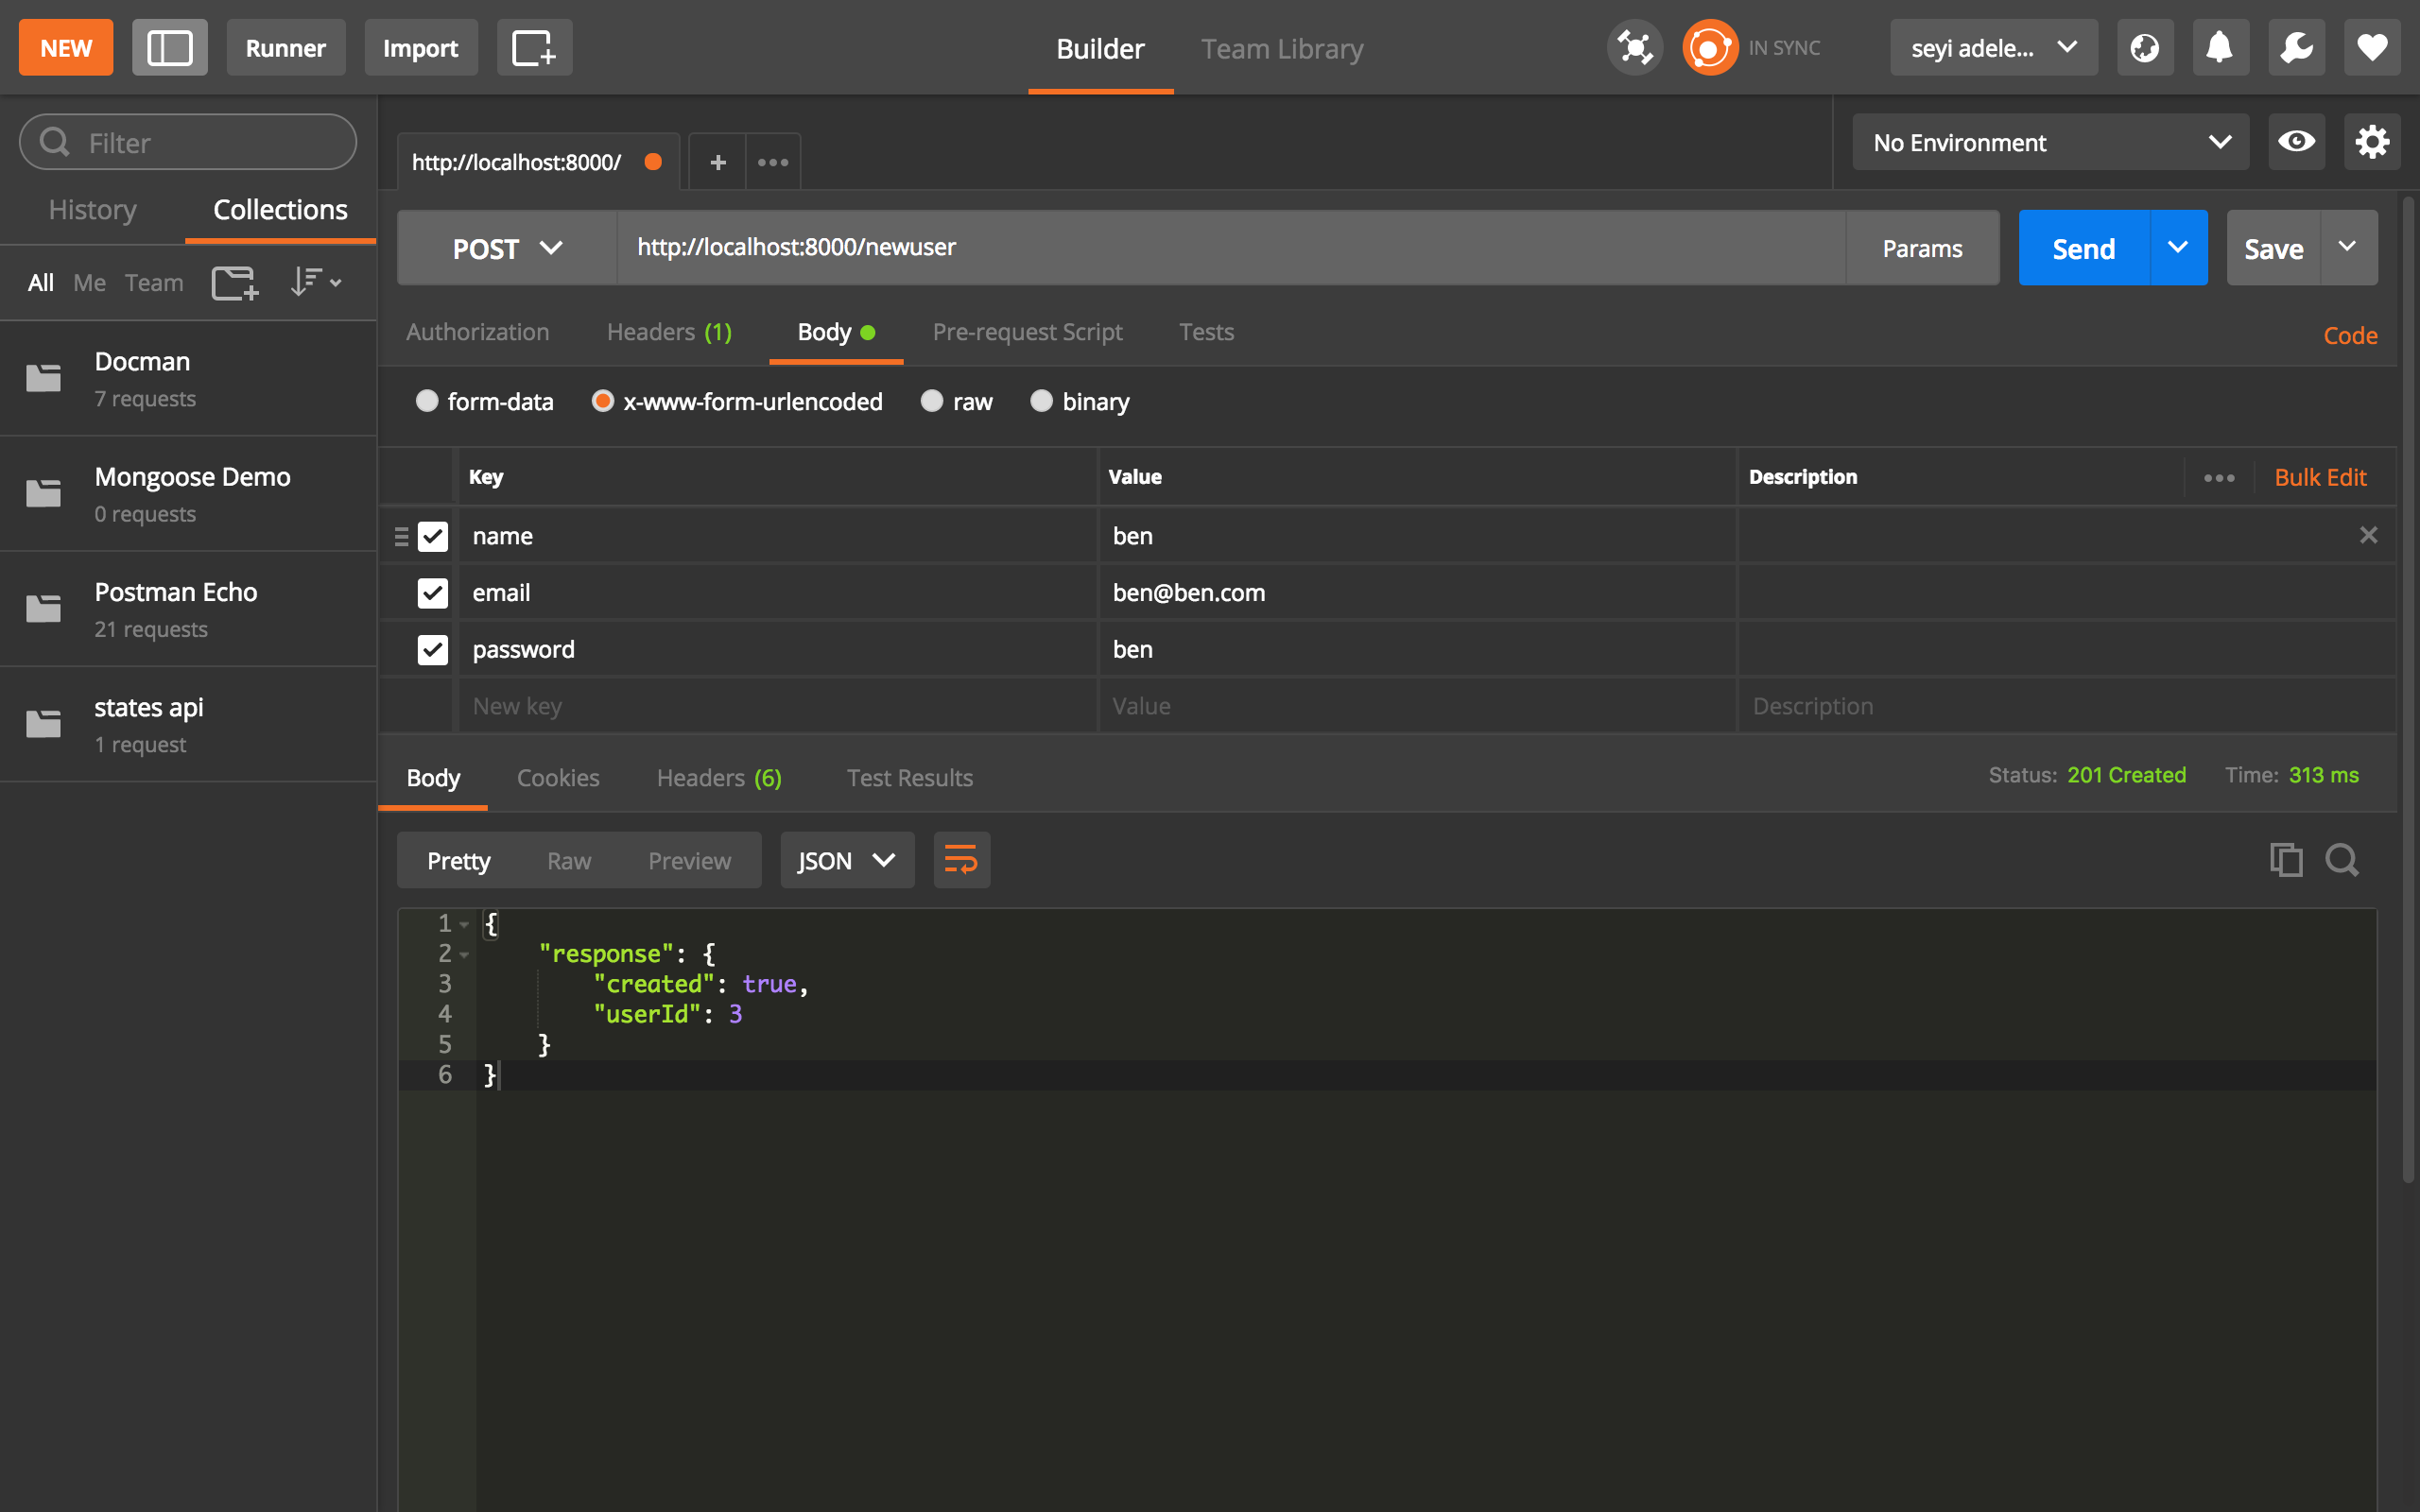
}This file implements a function createNewUser() that creates and saves a new user to our database. To try it out, fire up Postman (or your preferred API client), start the server, and navigate to http://localhost:8000/newuser.
Make a post request that looks like so:
To get all posts that belong to a user, let’s add a new route to the web.php file
$router->get('/users/{id}/posts', 'PostController@getUserPosts');Create a new controller PostController.php with the following code:
<?php
namespace App\Http\Controllers;
use App\Post;
use Illuminate\Http\Request;
class PostController extends Controller
{
/**
* Create a new controller instance.
*
* @return void
*/
public function __construct()
{
//
}
public function getUserPosts($id)
{
$user = User::find($id)->posts()->get();
return ($user);
}
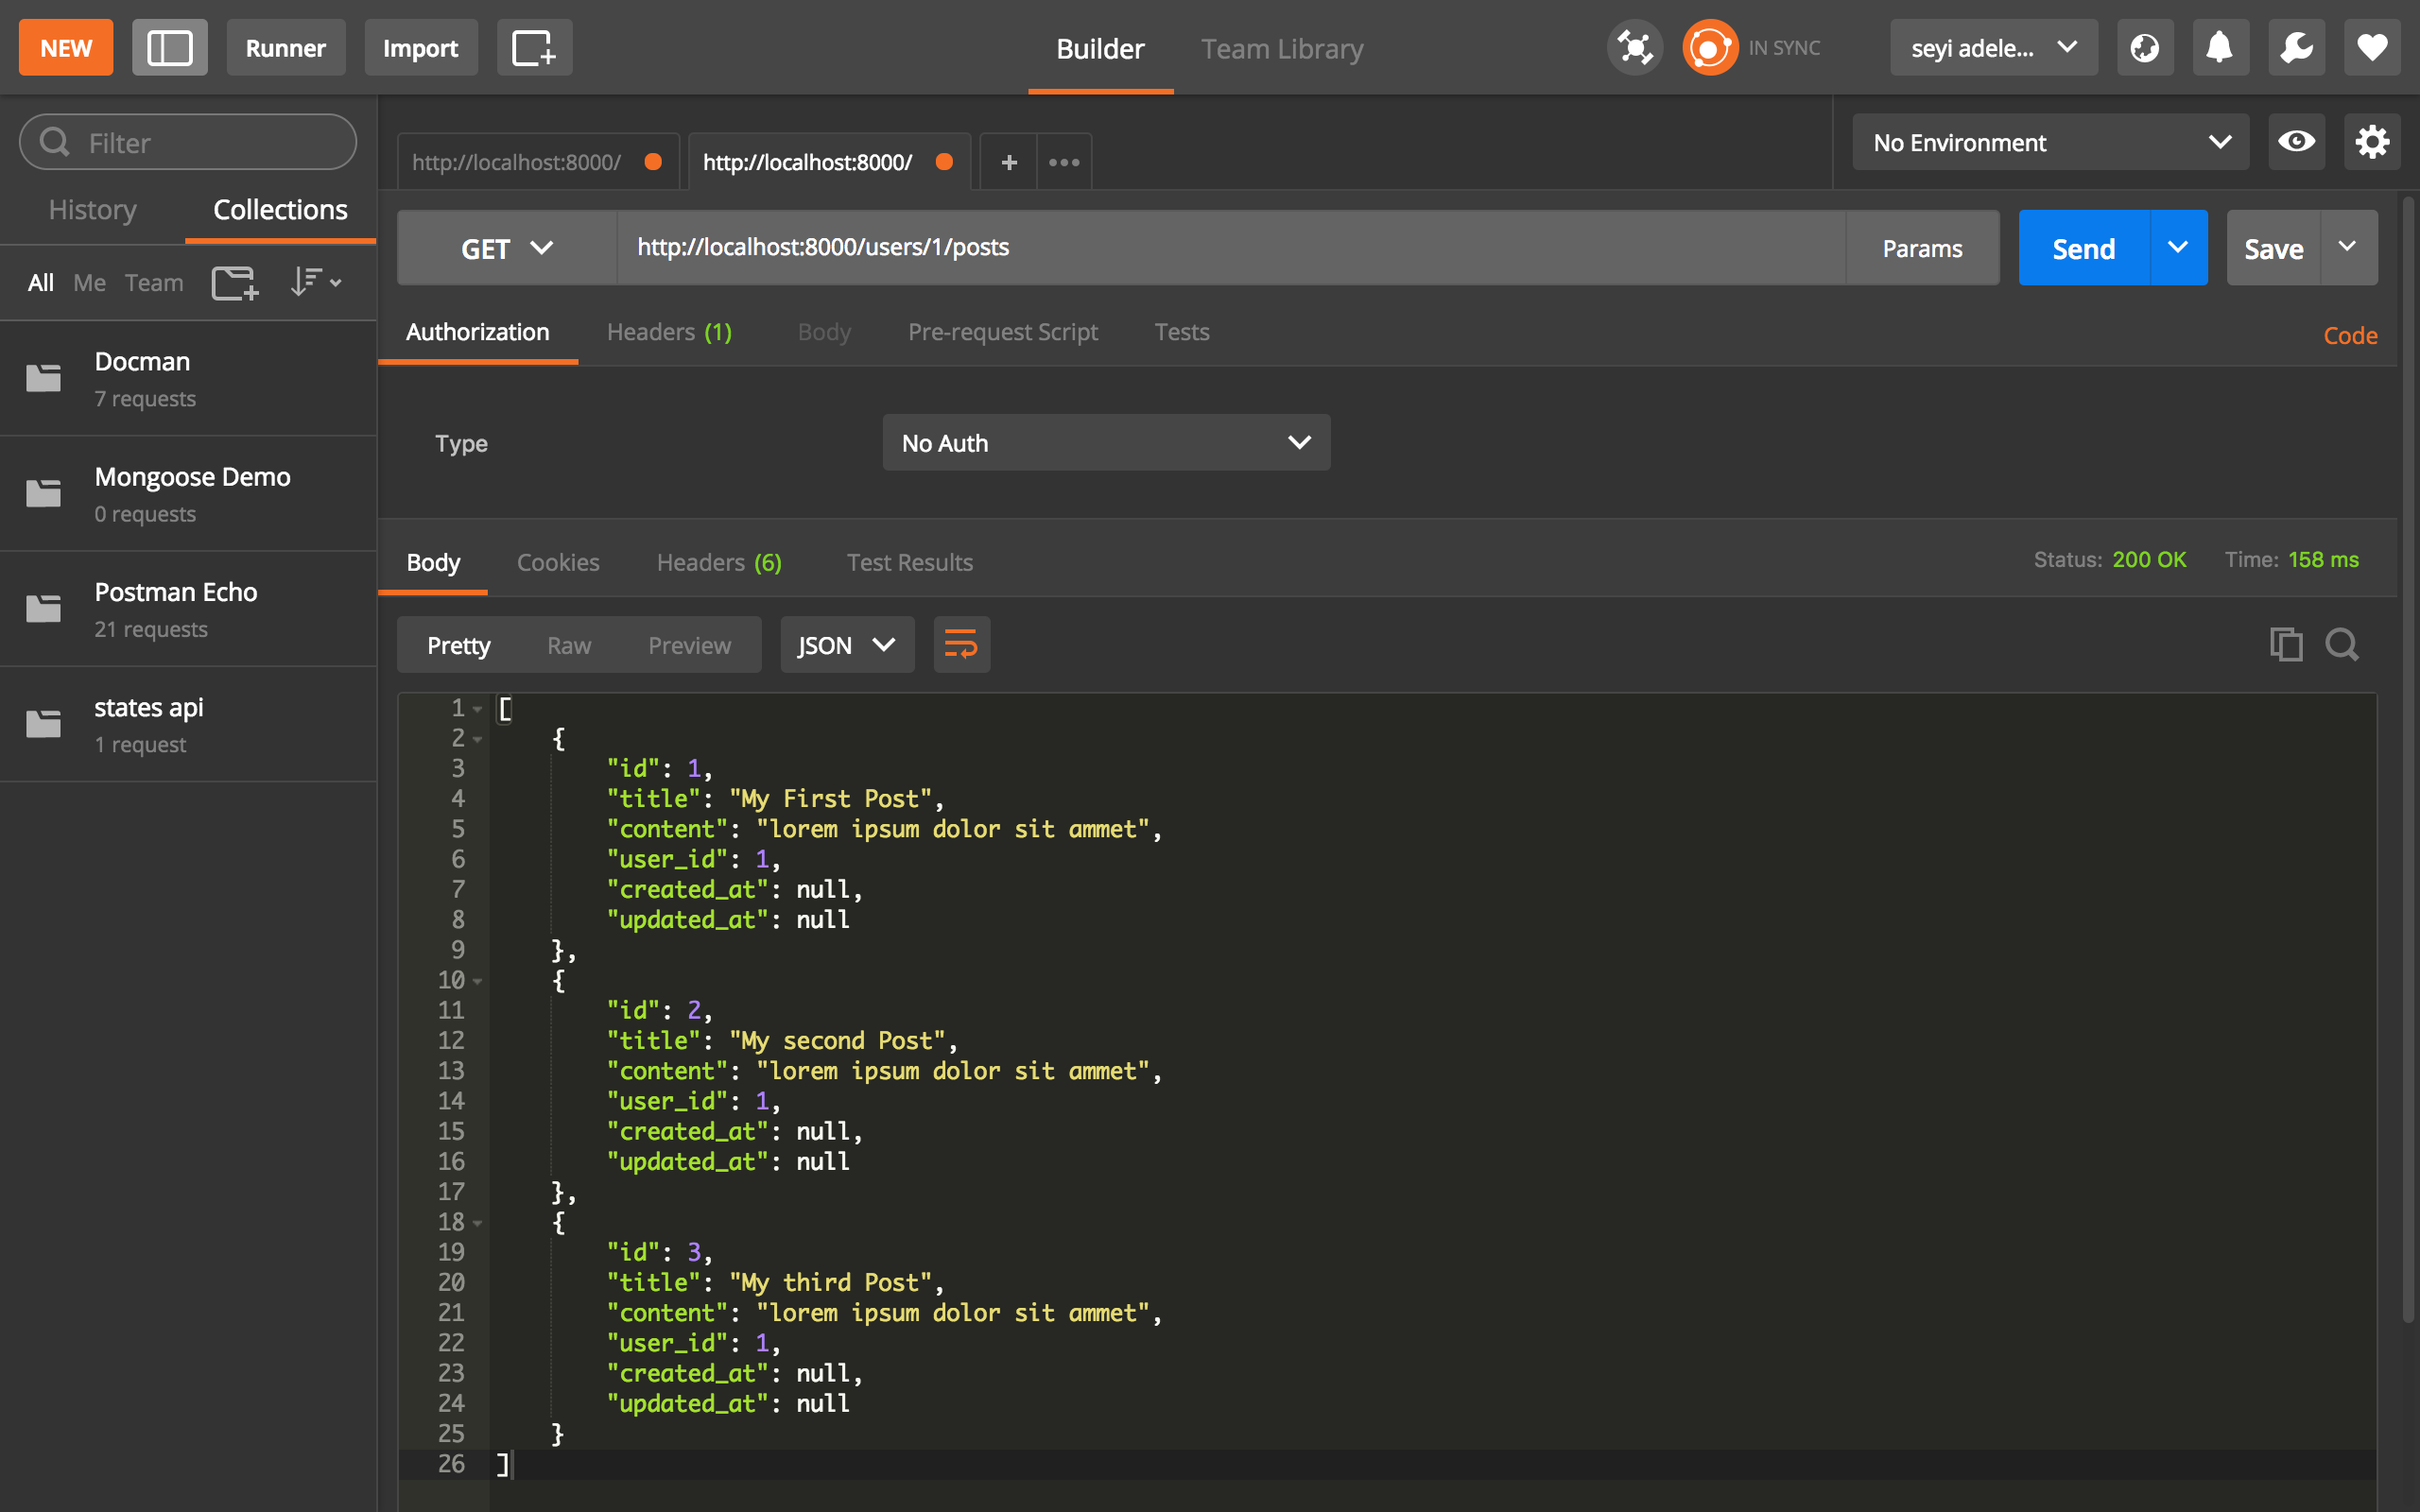
}This function returns all posts belonging to the user with the id parameter. To test it out on Postman, duplicate the following:
Commands
We’re finally on the last section! Good job if you made it this far.
Ads in Lumen. Basically, a command is some logic that you require when building applications that can improve your workflow and can possibly be scheduled. We can write commands to do everything from caching, keeping logs, dropping databases, and sending emails and notifications to users, etc.
Artisan is the command-line interface included with Lumen. It provides a number of helpful commands that can assist you while you build your application. Now, we will build our own custom Artisan command that deletes all posts in our database on a weekly basis. Let’s get started!
To create a new command, add a new file to the app\console\commands directory called deletePostsCommand.php
<?php
/**
 *
 * PHP version >= 7.0
 *
 * @category Console_Command
 * @package  App\Console\Commands
 */

namespace App\Console\Commands;


use App\Post;

use Exception;
use Illuminate\Console\Command;


/**
 * Class deletePostsCommand
 *
 * @category Console_Command
 * @package  App\Console\Commands
 */
class DeletePostsCommand extends Command
{
    /**
     * The console command name.
     *
     * @var string
     */
    protected $signature = "delete:posts";

    /**
     * The console command description.
     *
     * @var string
     */
    protected $description = "Delete all posts";


    /**
     * Execute the console command.
     *
     * @return mixed
     */
    public function handle()
    {
        try {
            $posts = Post::getPosts();

            if (!$posts) {
            $this->info("No posts exist");
                return;
            }
            foreach ($posts as $post) {
                $post->delete();
            }
            $this->info("All posts have been deleted");
        } catch (Exception $e) {
            $this->error("An error occurred");
        }
    }
}
This file has a few moving parts, so I’ll break it down. First, the $signature variable defines the executable command. If we want to run this command on the terminal, we type in $ php artisan delete:posts.
The next thing is the description variable that describes our command. If you run $ php artisan list, you should see our command with the description as is. Before you run this command, ensure you have added the command class to our app\console\Kernel.php, like this.
 protected $commands = [
        Commands\deletePostsCommand::class,
    ];
If you write any more commands, bootstrap them by adding the path to the class to the $commands array.
The next part of our command is the handle function, in which we carry out the main logic. In that function, we first wrap it all up in a try-catch block to handle errors effectively in our Post model in App\Posts.php, and add a new static function:
public static function getPosts()
    {
     $posts = Post::get();
     return $posts;
    }
We can then make a call to this function in our command to return all posts in our database and store them in the $posts object. Then, check if no posts exist and elegantly return. We then loop through each post and delete it, nice and easy.
To schedule a command, edit the kernel.php like so:
 protected function schedule(Schedule $schedule)
    {
         $schedule->command('delete:posts')->weekly()->mondays()->at('9:00');
    }
For more information about Laravel Scheduler, read this.
Conclusion
Writing commands in Lumen and Laravel is suprisingly very easy. This was just a basic example, but the general idea is the same. This article was supposed to be about making commands, but we touched upon other important aspects of Lumen development, such as: models, routes, controllers, migrations, and seeders, quite a lot to take in.
We can write commands to do various things. Off the top of my head, we could write a command that updates the content of each post to a uniform string.
Why dont you give it a try and respond with your thoughts and feedback in the comment section.